
1. Close Outlook if it is currently running.
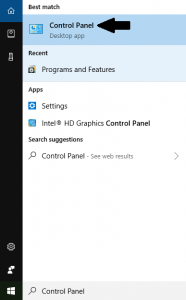
2. Open your Start Menu, search for “control panel”, and click “Control Panel”.
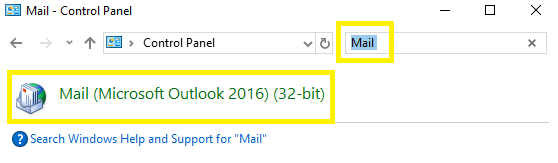
3. At the top right of the Control Panel window, search for “mail” and click “Mail”.
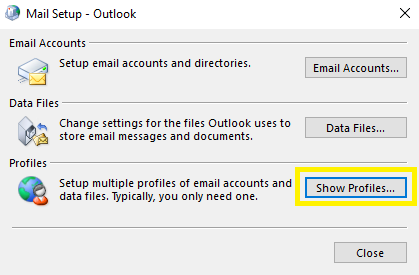
4. On the Mail Setup window click the “Show Profiles…” button.
5. On the Mail window click the “Add…” button.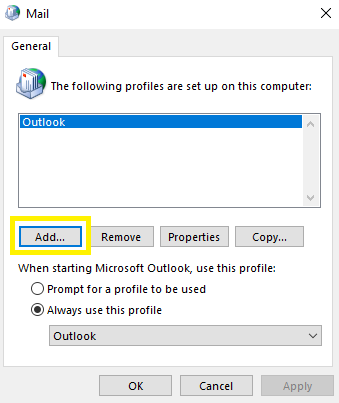
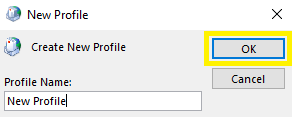
6. Enter a name for the new profile and click “OK”.
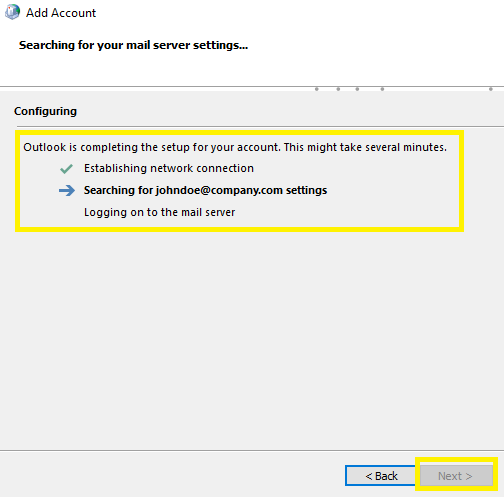
7. Enter the account information for the mailbox you wish to setup and click “Next >”.

8. Wait for the configuration to finish, you should see green checks next to each item.
- You may be prompted with a window to enter the password for the account, do so.
- If one of the checks fail you may need to verify:
– Internet connectivity
– Connectivity to your network if it is required. (example: VPN)
– The email address and password entered to configure account.
9. Once the mail profile is successfully created, you have two options of accessing it.
- Check “Prompt for a profile to be used” which will require you select which profile you would like to open with Outlook each time the application is opened.
- Check “Always use this profile” which will automatically open Outlook with the selected profile without prompting for selection.

Note: When you open Outlook with a new profile for the first time, it will take longer than usually for everything to load. Additionally, all of your mail may not be immediately available upon Outlook opening. This is due to the profile needing time to synchronize mail from the server to your profile.
If you also need to move other Mail, Contacts, Calendars, Tasks, or other items from a previous profile to your new one please see the walk-through for doing so here.